

The name "biscotti" is Italian and literally means twice baked - which is exactly how we'll prepare it. Biscotti can be found in all sorts of flavors, but the most common contain anise, hazelnuts and filberts, and almonds. In this recipe we'll join the flavors of almond and orange (and chocolate). (I should probably also mention that the singular form of biscotti is "biscotto".)
 Start by assembling the ingredients: 1 cup (200 g) sugar, 2 large eggs, 3/4 cup (80 g) slivered almonds, 2 tablespoons minced orange zest (about half an orange's zest), 1 teaspoon baking powder, 1/4 teaspoon salt, and 2 cups (250 g) flour.
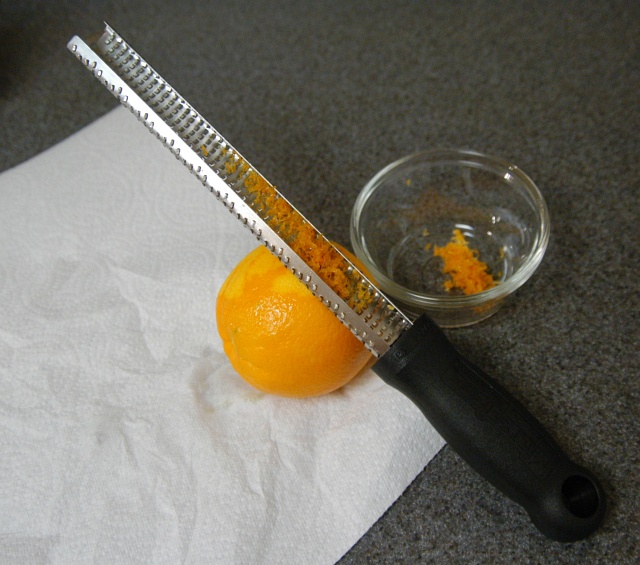 For removing the zest from an orange, I find that when using a Microplane Zester upside down (with the orange under the zester), the zest stays in the device making it much easier to judge how much you've collected. If not using a Microplane (or a zester that produces comparably fine zest), you'll need to mince the zest for this recipe.
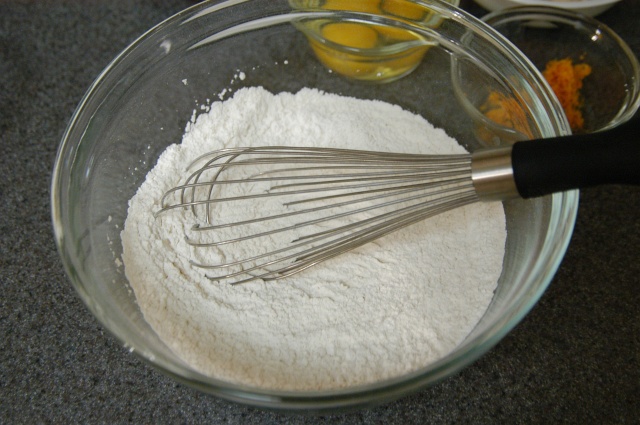 Preheat the oven to 350°F (175°C). Whisk the flour, baking powder, and salt together.
Select a mixing bowl that is large enough to hold all the ingredients and still provide enough room to fold them together without making a mess.
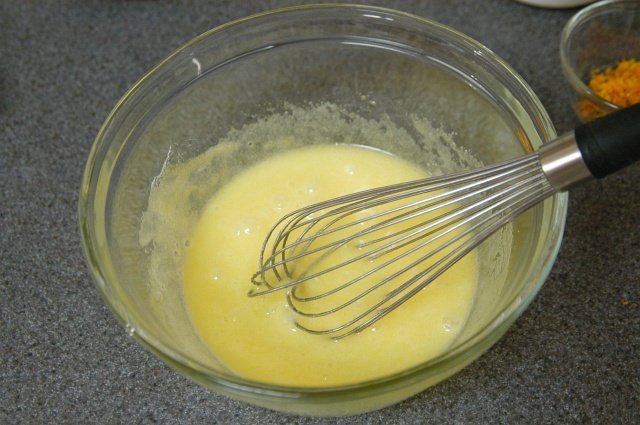 Break two large eggs into the large mixing bowl and add the sugar. Whisk to combine.
 Continue whisking the sugar and eggs until the color has lightened to a pale yellow. I like using a spare piece of mesh cabinet liner to keep the bowl from shifting while I'm whisking.
 Add the vanilla extract, almond extract, orange zest, and slivered almonds to the egg and sugar mixture. Using a spatula, stir once or twice to combine.
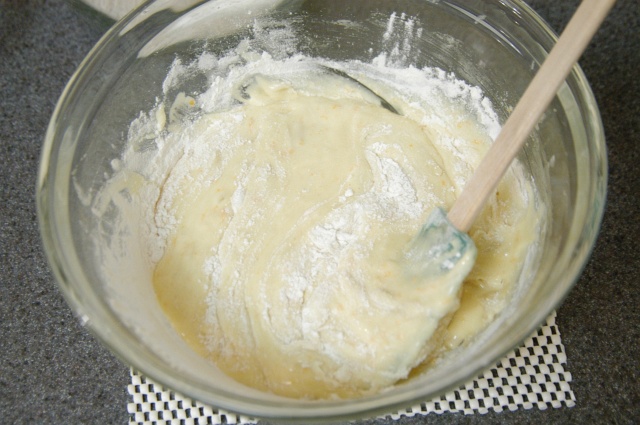 Working in batches, pour enough of the flour mixture to cover the surface of the egg mixture. Use a spatula and fold in the flour using as few strokes as possible. Add more flour and fold until all the flour has been integrated. Folding is performed by using a spatula to scoop from either the side or the middle of the mixture and lifting and "folding" (basically movign the spatula laterally and then flipping it over to drop the mixture) onto another part of the mixture. Rotate the bowl each fold.
 The key is not to stir or mix the flour with the liquid too much. Gently folding helps prevents the formation of too much elastic gluten. The presence of too much gluten will defeat the delicate and crisp texture we are trying to achieve and result in a possibly chewy product.
 Split the batter in half and place the two rough balls onto a non-stick baking sheet (such as a silicone baking mat or parchment paper set in a half sheet pan). With your hands, form the batter into two loaves of approximately 10-in. (25 cm) by 2 in. (5 cm) each. Wetting your hands just a bit may help with molding the loaves since the batter will be fairly sticky.
Bake the loaves at 350°F (175°C) for 40 minutes (rotating the pan once after twenty minutes). The loaves should have just started to crack. (Don't wait for big cracks or you might overcook the biscotti.)
 Remove the loaves from the pan and place them on a wire rack to cool for at least ten minutes. This cooling step is extremely important to your non-dominant hand as it will be holding the loaf while you cut it in the next step.
 After some cooling, move a loaf to a cutting board and cut diagonally into 3/8-in. (1 cm) thick pieces. Do the same to the other loaf. The interior of each biscotto should still be just a little moist (while the exterior is nice and hard). The crust of the loaf will probably be quite hard, so use a large serrated knife such as a bread knife for this job.
 Place the biscotti with a cut side facing up on a half sheet pan and bake for 8 minutes. Remove the pan and flip all the biscotti over so the other cut side is now facing up. Bake for another 7 minutes. Set all the pieces on a wire rack to cool making sure that none of the biscotti are touching each other. If the biscotti are placed too close together, they could get a little soft or soggy as they cool.
 Once the biscotti have fully cooled, they can be consumed as is, or chocolate dipped. To chocolate dip, simply break up the chocolate of your choice (dark chocolate is Tina's favorite) and place in a large metal mixing bowl. I find it easier to dip biscotti in large quantities of chocolate, so I usually make two batches of biscotti (4 loaves), and melt about 250 g (a bit more than 1/2 pound) chocolate. For one batch, 125 g (about 1/4 pound) chocolate should be enough. Using a flat bottomed mixing bowl also makes it easier to dip (otherwise you may need to transfer the chocolate to another container after melting to dip the biscotti).
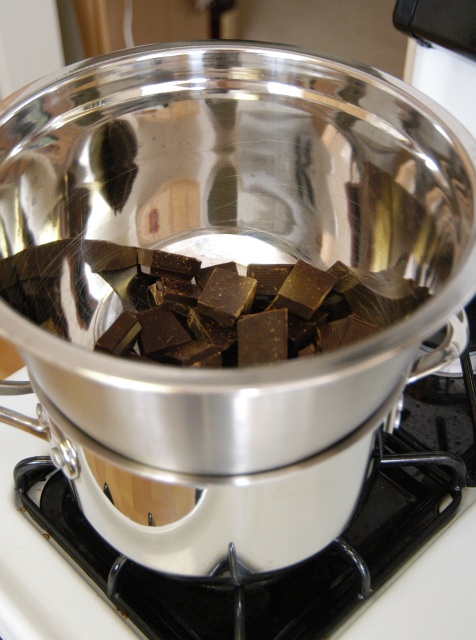 Place the mixing bowl with the chocolate over a saucepan containing about an inch of water (but not so much that the mixing bowl will actually make contact with the water). Bring the water to a boil and then reduce the heat to a simmer. Once the chocolate begins to melt, you can turn off the heat and let the residual heat and steam continue to heat the bowl and melt the chocolate.
 Stir occassionally to check when the chocolate has completely melted. Once the chocolate has melted, you can leave the mixing bowl over the hot water to keep the chocolate warm and melted as you dip the biscotti.
 Dip each biscotto in the chocolate by inserting the flat bottom into the chocolate. Use a spatula to remove any excess chocolate and then lay the biscotto (chocolate side down) on a silicone mat or sheet of parchment paper. Repeat until all the biscotti have been dipped. The biscotti can then be left to cool on its own or placed in the refrigerator.
The biscotti tastes best during the first few days, but will keep for up to a month in a sealed air-tight container.


No comments:
Post a Comment